
The key points
- Final appliance models affect circuit planning.
- Furniture and joinery positions should drive outlet locations.
- Agree rough-in, fit-off, making good and paperwork in the scope.
Make one shared plan for all trades
Use a floor plan to mark appliances, furniture, lighting and switches. Include door swings and cabinetry so an outlet is not hidden behind a fixed panel and a pendant lands over the right place. Date the drawing and give the same version to the builder, electrician and cabinetmaker.
List the things that annoy you now: a dark preparation area, charging leads across the floor or a study sharing too few outlets. These practical details make a better brief than copying the old layout into the new room.
Confirm equipment while the walls are open
Choose exact appliance models early enough for supply and clearance checks. An induction cooktop, oven and air conditioner can have different requirements from the products they replace. If the final model changes, tell the electrician before cables and joinery are fixed.
Discuss future loads such as EV charging or another air conditioner even if they are not being installed now. The electrician can assess whether cable routes or board space should be planned ahead, without assuming every future upgrade must happen in this stage.
Walk through ordinary days room by room
In a kitchen, mark preparation appliances, the fridge, dishwasher and any island power. In bedrooms, think about bedside charging, lamps and where the bed may realistically move. In a study, account for the desk, monitors and network equipment. Outdoors, consider the path, gate and garden maintenance.
For lighting, choose useful switched groups and identify which fittings need dimming. If fans are planned, discuss ceiling support and position before finishing the ceiling. The plan should explain how the home is used rather than only counting fittings.
- Appliance model schedule.
- Furniture and cabinetry plan.
- Lighting groups and dimmer requirements.
- Outdoor supplies and future cable routes.
Define rough-in, fit-off and making good
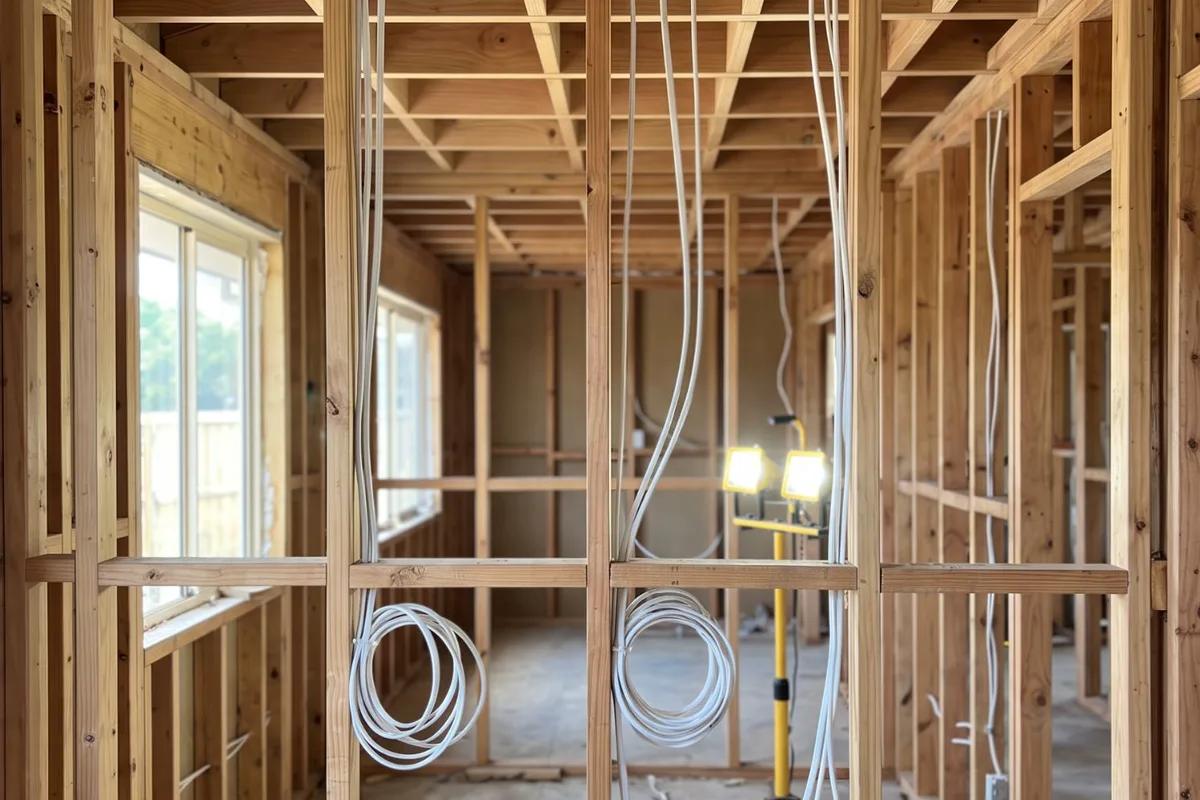
Agree the dates when wiring access will be available and when fittings can be installed. Do not close walls until the builder and electrician have confirmed the rough-in stage is complete. Changes after plastering can add time and visible repair work.
Clarify who supplies fittings, handles storage and replaces damaged or unsuitable customer-supplied products. Identify who patches holes and paints. Ask how scope changes are approved so a quick verbal decision on site does not become a surprise invoice.
Leave with a usable record
At handover, ask for circuit labels and demonstrations of controls, fans, alarms and isolation points. Keep appliance and fitting model details where you can find them for replacement parts. Record any agreed follow-up work before the project is considered complete.
Keep the installation documents and any separate safety report with the renovation records. They help future trades understand the scope completed. Photographs taken during the build can also be useful, provided they were taken with permission and from a safe position.
Quick answers
- Why do plugs keep falling out of my power point?Plugs drop out when the contacts inside the outlet have lost their grip, or when the outlet itself has come loose from the wall.
- Why is my power point warm?A plug that feels slightly warm after a heater or kettle has run for a while can be normal.
- Can a power point be added to my kitchen island?Usually, yes.
- My power point cover is cracked. Is it safe to use?No.
Planning advice for homeowners. Installation requirements depend on the property and equipment. Where this guide refers to Victorian safety or rental rules, use the linked official guidance for the current requirements.