
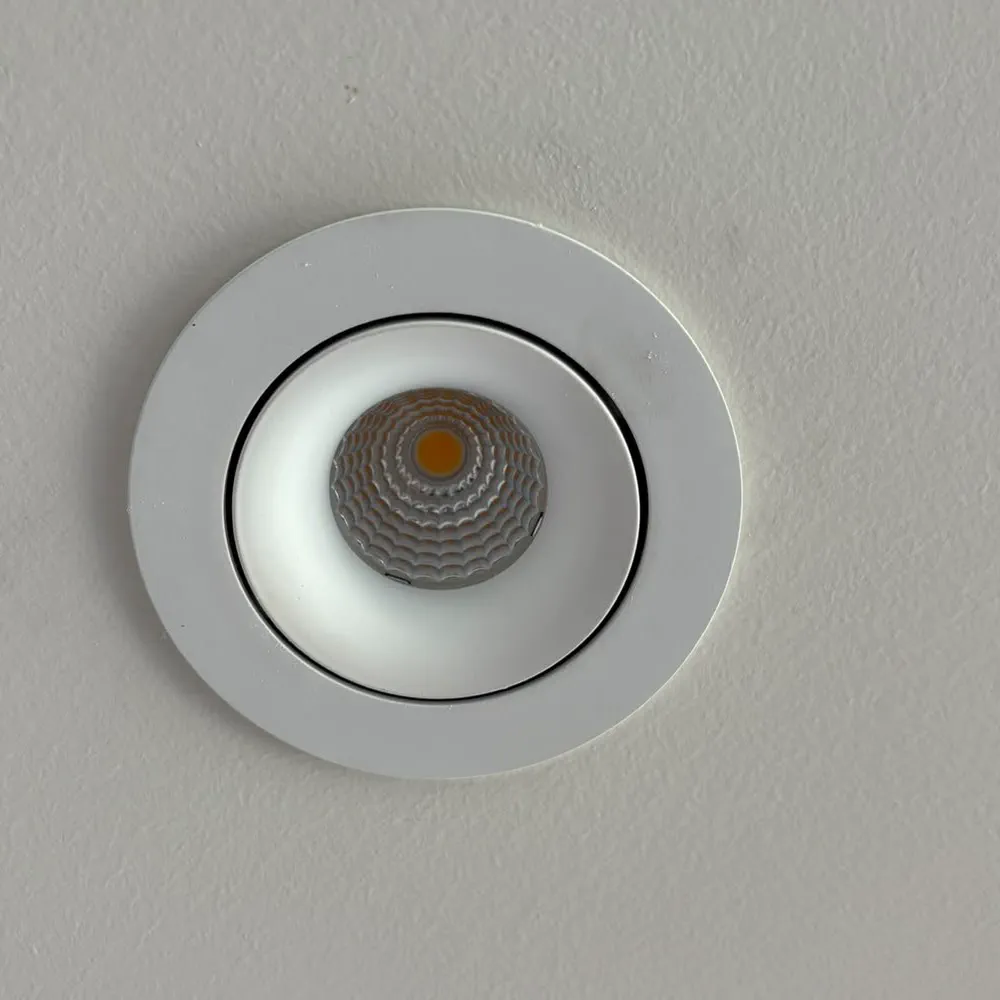
What's involved in replacing halogen downlights with LED downlights?
- Replacing the whole fitting, not just the globe, takes the old transformer out of the roof and lets insulation go back over an IC-rated light.
- The new fitting's cut-out size decides whether existing holes are enlarged, reused as they are or patched.
- Dimmers fitted for halogens rarely suit LED drivers, so plan to change them at the same time.
- Clear access under the manhole and in each room before the electrician arrives.
Before the day: count, check and choose
A changeover goes smoothly when the decisions are made first. Count the downlights in each room, note which switches and dimmers run them, and take a photo of one fitting. Low-voltage halogens, with small two-pin globes, have a transformer in the roof for each light or small group. Mains-voltage halogens don't, and the job is a little simpler.
Hole size is the step most people miss. You can't measure it with the fitting in place, so it's checked when the first fitting comes out, or on a quote visit. Every new fitting lists a cut-out size. Slightly larger than your holes means each one is enlarged neatly. Smaller means the trim won't cover the gap, so either the ceiling is patched or a fitting with a matching cut-out is chosen instead.
Choose colour temperature and beam beforehand, and keep each open space consistent. Our guide to choosing LED downlights covers those choices. This post is about what happens once the fittings arrive.
Up in the roof: transformers, cable and insulation
Most of the real work happens above the ceiling. The electrician goes up through the manhole, finds each fitting and its transformer, and checks the cable and connection at each light. Cable that has sat beside a hot halogen for years can be stiff and brittle, and a scorched joint is better found now than left under insulation.
The old fittings and transformers come out, and each new LED fitting, with its own matched driver, is connected and pushed up into the hole. Where the fitting is rated for insulation contact (IC), insulation that was cut back or pushed aside goes back over the light, closing the gaps that let heat in during summer and out in winter.
Where there's no roof space, such as the ground floor of a double storey or a low-pitched extension, the work is done from below through each hole. That's slower and gives a poorer view of the cable, so mention it when you book.
Dimmers and switches
Dimmers built for halogens are the usual cause of LED flicker and buzz. An LED fitting dims through its driver, and the dimmer has to suit that driver and the number of fittings on it. A few low-wattage LEDs can fall below an old dimmer's minimum load, which is why they shimmer even at full brightness.
Plan to replace dimmers at the same time, matched to the fitting model and the count in each room. If you want smart dimmers or app control, choose them with the fittings rather than afterwards.
Holes, patching and the finish
With the right cut-out, most holes need nothing more than a clean edge. Where the new fitting is smaller, or an old hole is damaged, the ceiling needs patching and paint. Ask how that's handled before the job starts, so you know whether a painter is needed afterwards.
It's also a good moment to rethink the layout. Halogen grids were often laid out with lights close together, and a modern fitting with a wider beam may light the room with fewer. Removing a light means patching its hole, so weigh that against the improvement.
After the swap
Each light is tested on its switch or dimmer, through the full dimming range, and checked for flicker. If the fittings are colour-selectable, make sure they're set to the colour you chose before the electrician leaves.
Replacing downlights is licensed electrical work, even though it looks like a small job. Energy Safe Victoria says electrical work isn't a DIY job, even small jobs like changing power points or light switches. Lights are non-prescribed work, and the electrician must give you a Certificate of Electrical Safety.
Rental providers planning ceiling insulation under the 2027 standards should do the downlights first. That standard requires a licensed electrician to complete an electrical safety checklist and fix any electrical issues within 30 days before insulation goes in.
Questions that come next
Sources for this article
4 sources, with the date each was checked
- 1.Energy Safe Victoria: Electrical work isn’t a DIY job, even for small jobs such as changing power points or light switches. Accessed 30 September 2026.
- 2.Energy Safe Victoria: Whenever a licensed electrician completes any electrical installation work, they must provide a Certificate of Electrical Safety (COES). Accessed 30 September 2026.
- 3.Energy Safe Victoria: For electrical installation work performed within your electrical installation including but not limited to lights, power points, air conditioning, hot water service etc. Accessed 30 September 2026.
- 4.Consumer Affairs Victoria: The standard also requires an electrical safety checklist to be completed and any electrical issues to be addressed by a licensed electrician within 30 days before the installation of insulation. If the insulation… Accessed 30 September 2026.